
Read more for all the details on St. Patrick’s Day Paper Clover Garland.
Step into the world of St. Patrick’s Day crafting magic! In this blog post, we’re unveiling the secrets to crafting an Easy St. Patrick’s Day Paper Clover Garland. Whether you’re adorning your home, office, or classroom, this DIY project promises a touch of Irish charm and a sprinkle of luck.
We love creating simple paper garlands throughout the year to celebrate every holiday at a low cost! With basic materials and easy-to-follow steps, this crafting adventure is perfect for all skill levels. Each clover is a brushstroke of festive green, adding a whimsical and cheerful atmosphere to your St. Patrick’s Day celebrations.
Let’s gather our supplies, embrace the spirit of luck, and craft a garland that will transform your space into a charming haven of St. Patrick’s Day cheer. Get ready to infuse your surroundings with a touch of the Irish!
PIN St. Patrick’s Day Paper Clover Garland FOR LATER:
This St. Patrick’s Day Paper Clover Garland is accompanied by a YouTube Tutorial. If you haven’t subscribed to me on YouTube, don’t forget to!
HERE IS HOW TO MAKE AN EASY ST. PATRICK’S DAY PAPER CLOVER GARLAND:
WHERE CAN I FIND THESE MATERIALS?
You can find the materials for an Easy St. Patrick’s Day Paper Clover Garland at various locations:
- Craft Stores: Visit your local craft store for green paper, scissors, twine, and mini clips.
- Office Supply Stores: Basic supplies like colored paper and twine are available in office supply stores.
- Supermarkets: Some supermarkets carry basic crafting supplies in their stationery aisle, such as green paper.
- Online Retailers: Explore online platforms for a broader selection of crafting materials. You can find unique shades of green paper and order specific supplies.
WHERE CAN I PRINT THESE CLOVERS?
You can get all my freebies by signing up for my email list here or clicking on the photo! All email list subscribers have access to all the printables I create forever so be sure to check it out.
Once you sign up, you get a welcome email with the password to my freebie library where you can download this clover template!
WHAT ARE THE MATERIALS NEEDED?
The materials you need to create this easy paper clover garland are:
- Either green paper or a printer with colored ink and white paper
- Scissors
- Mini clothespins or clips
- Twine
- Tape/Thumb Tacks/Push Pins
WHAT EQUIPMENT DO I NEED?
You can definitely free hand sketch a clover but if you’ve got a printer at home, it is so much easier to print a clover and use that as your guide! Free hand sketches never turn out great for me. You can also just print the clover template at your local library or print shop for a small cost.
Aside from that, you’ll just need some twine and mini clothespins which you can pick up from the Dollar store and reuse for many paper garlands to come and a good pair of scissors!
Here are some of the things I have gotten from Amazon:

HOW LONG DOES IT TAKE TO MAKE?
Creating an Easy St. Patrick’s Day Paper Clover Garland is a quick and enjoyable craft. On average, it may take around 30 minutes to 1 hour, depending on your cutting skills. I like to keep my hands busy while I watch TV in the evenings so I don’t notice the time! It’s a delightful project suitable for all crafting levels, bringing the spirit of St. Patrick’s Day to your space in no time.
WHAT ARE THE STEPS?
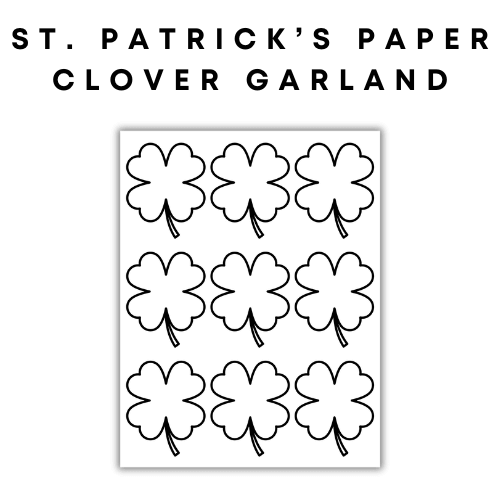
Step 1: Print/Create A Clover Template & Cut Clovers
You can sign up for my email list here for the password and access to all my printables including the template for these clovers! This is the exact size I used to create mine! Alternatively, you can free hand sketch the clovers or use a different template or outline!
Step 2: Cut Twine To The Desired Length
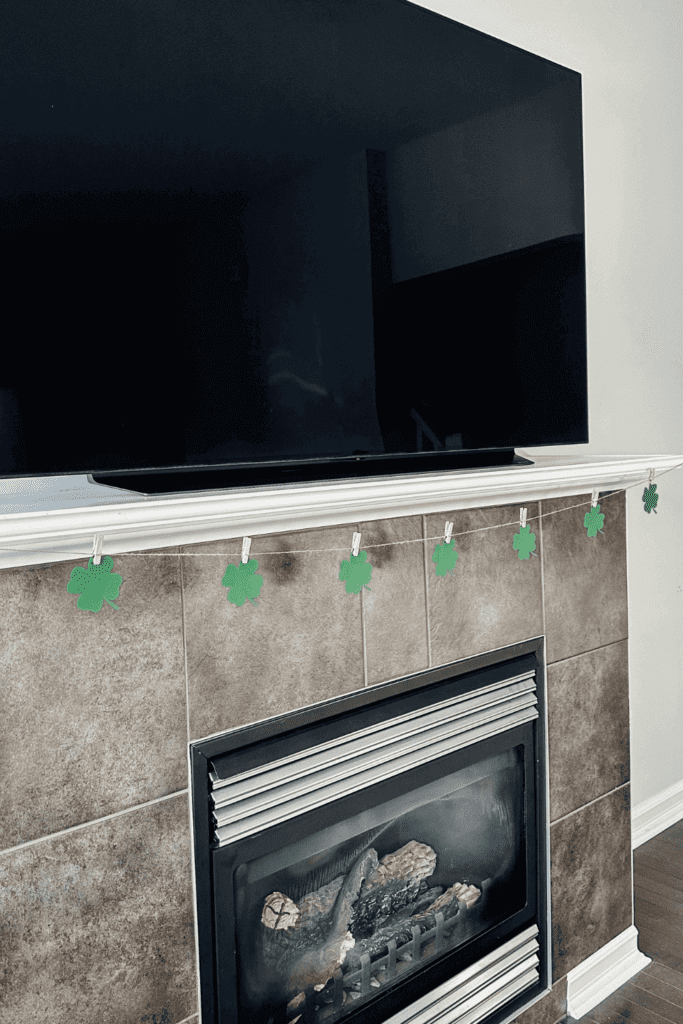
Pick where you’d like to hang your garland and cut your twine to the length of that. You can use tape if you’d like as it’s super light but you can also use a thumb tacks/pushpins! I love hanging my garlands on my mantel!
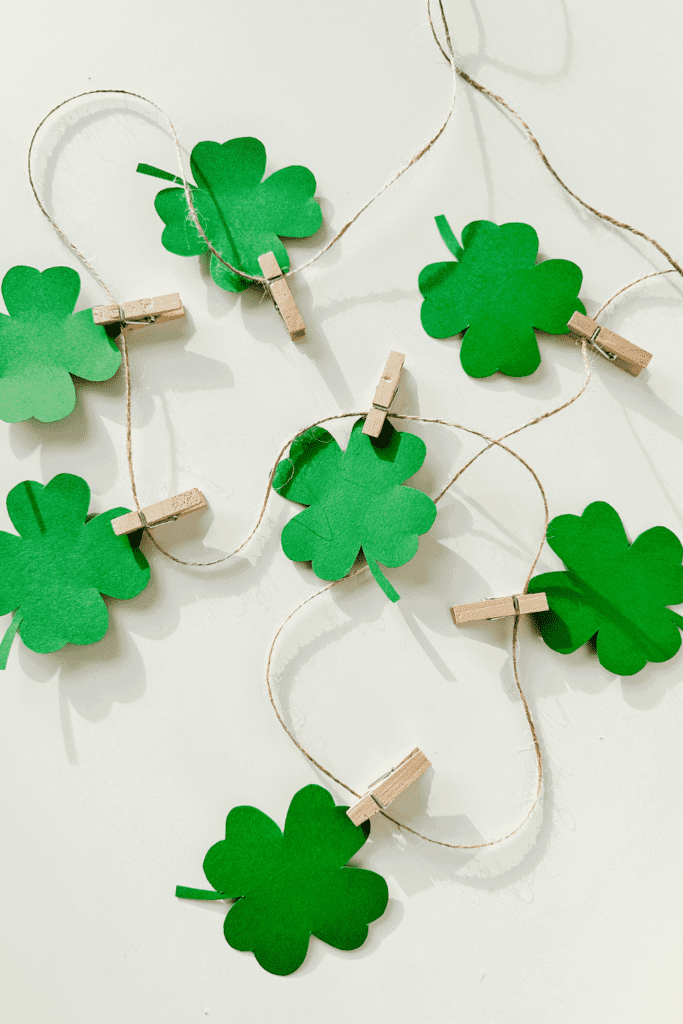
Step 3: Use Mini Pins To Attach Clovers To Twine
Attach the paper clovers to the twine using your mini pins. I love to tilt the clover to one side and have them hanging angled but you can do what works for you!
Step 4: Hang Garland And Space Out Clovers Accordingly
Lastly, hang your garland and space out the clovers evenly throughout and you’re done! Yay! You’ve got a little bit of St. Patrick’s Day spirit out!
Let the luck of the Irish adorn your space! Crafting the Easy St. Patrick’s Day Paper Clover Garland is a joyous way to celebrate the spirit of the season. Happy crafting and a shamrock-filled St. Patrick’s Day!
Xo,
Lynn
Are you going to try and make this St. Patrick’s Day Paper Clover Garland?! Don’t forget to tag me if you do!

This blog post is all the details on St. Patrick’s Day Paper Clover Garland.
P.S: If you haven’t read my most recent post, click here!
PIN St. Patrick’s Day Paper Clover Garland FOR LATER:
If you liked reading St. Patrick’s Day Paper Clover Garland, you might like these are well!
Cute Paper Easter Bunny Garland – Easy DIY!
How You Can Make Paper Crafts Last For a Long Time | GUEST POST
Easy Neutral Paper Pumpkin Garland
This is the end of St. Patrick’s Day Paper Clover Garland.


Your posts are a joy to explore.