
Read more for all the details on DIY Easy Spring Stickers.
I am a sticker girlie through and through! I love stickers and have so many all over the place. I am a sucker for cute stickers and when I found out I can make my own stickers, I started to go crazy! I thought in spirit of Spring, I would make some cute DIY stickers for my planner! I’ve even made stickers of my family’s embarrassing photos haha. Once you learn to do this, you can’t stop!
PIN DIY Easy Spring Stickers FOR LATER:
This DIY Easy Spring Stickers is accompanied by a YouTube Tutorial. If you haven’t subscribed to me on YouTube, don’t forget to!
HERE IS HOW TO MAKE DIY EASY SPRING STICKERS:
WHERE CAN YOU FIND THE MATERIALS TO MAKE THIS DIY EASY SPRING STICKERS?
You can find all the materials to make these fun DIY stickers at any office or craft store! I usually either just go to my local office store like Staples, go to the dollar store or just find everything on Amazon/online!
WHAT ARE THE MATERIALS/EQUIPMENT NEEDED FOR THIS DIY EASY SPRING STICKERS?
All you’ll really need is a printer that can do colored ink but you can also draw/color your own designs! If you don’t have your own printer, you can go to your local print shop and print a page! Aside from that, you’ll just need some masking tape, parchment or wax paper, scissors, and paper!
To make this DIY, you’ll need:
- Spring Icons Printed On A Piece Of Paper
- Scissors
- Parchment Or Wax Paper
- Clear Packaging Tape
Here are some of my fav crafting supplies from Amazon:

CAN I SUBSTITUTE ANY MATERIALS OUT?
There isn’t much to substitute with this DIY! It is super easy to make with very little materials so I recommend following everything as is! However, if you do make substitutions, I’d love to hear what you do in the comments below!
DO THE STICKERS LAST TO USE FOR THE FOLLOWING YEARS?
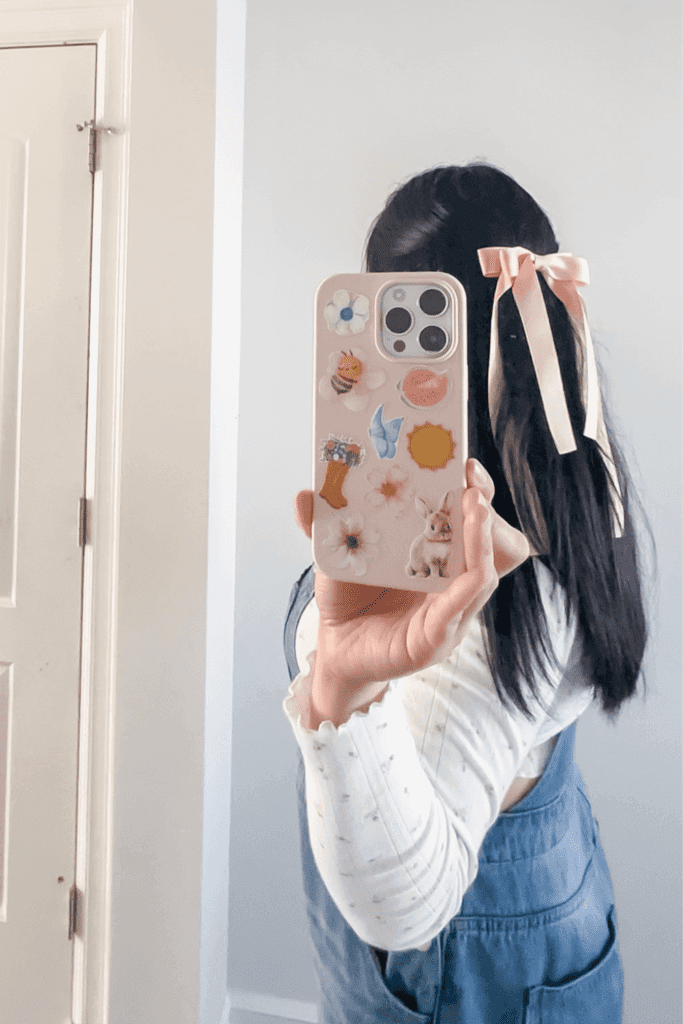
I have to admit, these stickers aren’t the more durable however, if you are careful with them, they will last! These are great to put on the back of your phone, laptop, kindle etc with a clear case! The great thing about these stickers is that they are so easy to remake!
HOW LONG DOES IT TAKE TO PUT TOGETHER?
The only thing that would take a long time would be the cutting so if you’re good at cutting, you won’t run into any issues! I’m a little bit of a perfectionist when it comes to cutting so I do admit that it takes me a while but cutting is all the hard work!I It took me 40 minutes to create these stickers from start to finish!
INSPIRATIONS FOR THIS DIY?
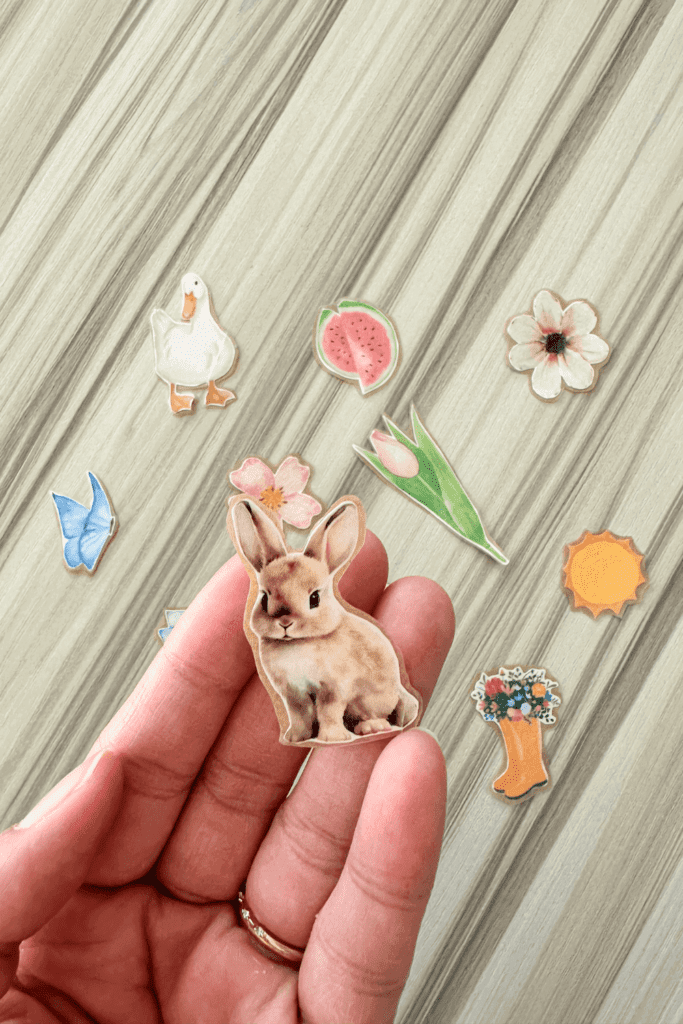
I watched tutorial on how to make homemade DIY stickers a long time ago and as a joke, I make my family’s ugly photos and make them stickers hahaha. I completely forgot that I can actually make cute stickers for my planner and wanted to create some for my planner for spring! I love spring icons like ducks, bunnies, and flowers so they turned out beautiful!
STEPS TO PUT TOGETHER THIS DIY EASY SPRING STICKERS:
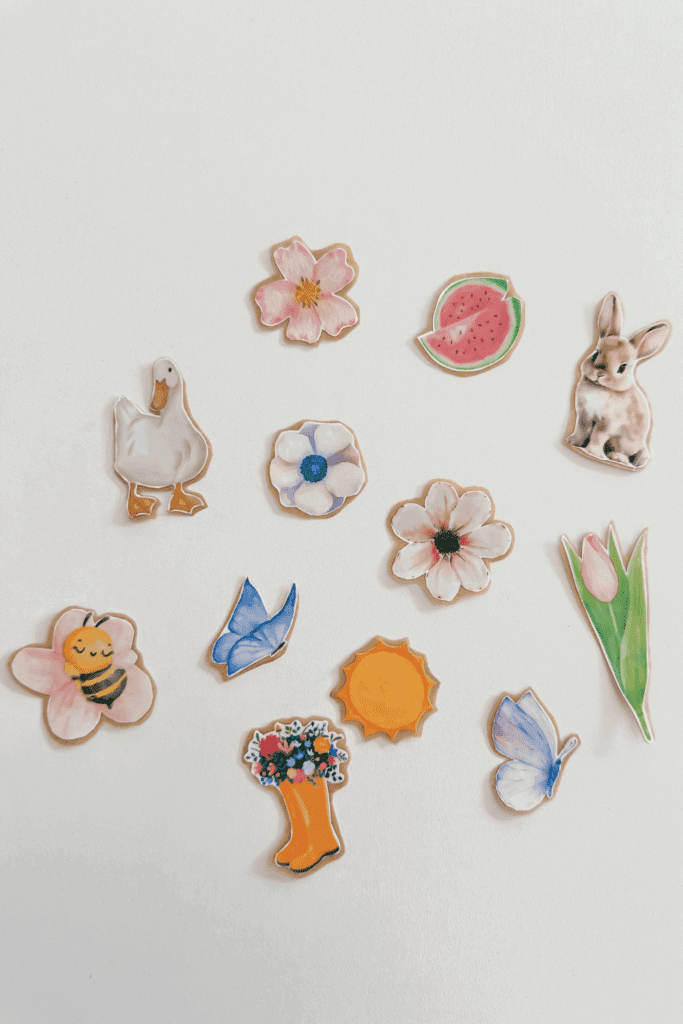
Step 1: Pick And Print Some Spring Icons That You Want To Make Stickers
I use Canva to pick some icons to make stickers out of so you can pick what you personally like however, I also added the exact Spring icons I used in my freebie library! You can sign up to be on my email list here! I also recommend to make them about the size of a quarter or a little bigger than that!
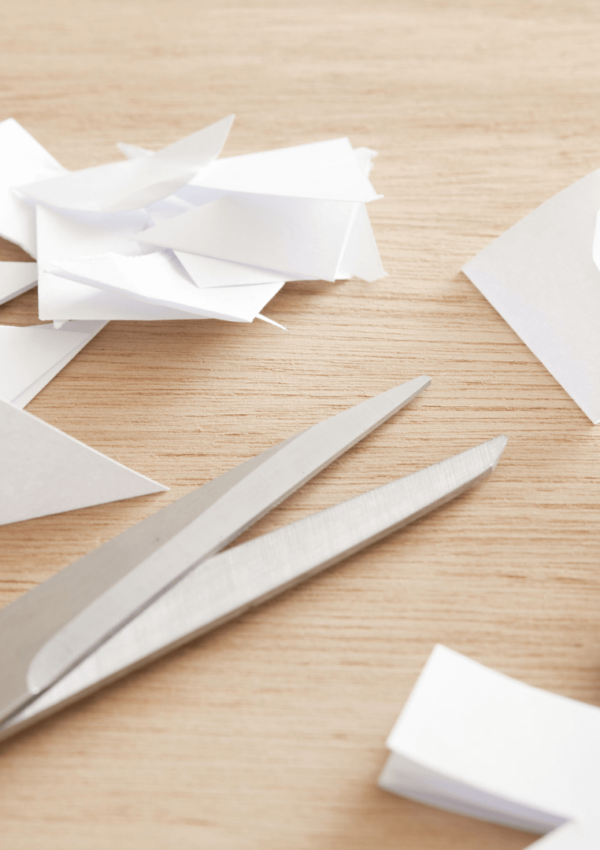
Step 2: Cut Each Of the Spring Icons
Cut each of the spring stickers! This process can take a while depending on how fast you can cut and also how intricate your designs.
Step 3: Lay A Piece Of Tape On Parchment/Wax Paper Then Place Your Spring Icon On Top
You’ll basically need to create a tape sandwich with both pieces of tape and the paper in between! You’ll need to make sure that the edges are fully closed to create the best sticker.
Step 4: Add Another Piece Of Tape On Top So That The Spring Icon Is Sandwiched In Between
Make sure that the edges are taped together really well so the stickers don’t fall apart
Step 5: Cut Each Sticker With The Parchment Paper
I can’t stress this enough! Make sure the edges are closed and don’t cut too close to the paper. The edges need to be fully sealed for the sticker to not fall apart.
You did it! You can now use this sticker however you please! Great job!
Thank you so much for reading this post on DIY Spring Stickers! Hope you make your own super cute stickers!
Xo,
Lynn
Are you going to try making these DIY Easy Spring Stickers?! Don’t forget to tag me if you do!

This blog post is all the details on DIY Easy Spring Stickers.
P.S: If you haven’t read my most recent post, click here!
PIN DIY Easy Spring Stickers FOR LATER:
If you liked reading DIY Easy Spring Stickers, you might like these as well!
Valentine’s Paper Heart Garland
Easy Gingerbread Paper Garland Decor
St. Patrick’s Day Paper Clover Garland
Cute Paper Easter Bunny Garland
Easy Neutral Paper Pumpkin Garland
This is the end of DIY Easy Spring Stickers.


 Bows have been the o


I love these! I really like getting stickers (I usually buy them) but making them myself is such a great idea. This is so creative, and I will be giving this a try.